The sticky form is a type of form that always remains in the top or bottom section of the page when you scroll up and down a landing page. This guide will walk you through adding a sticky form section to your landing page.
Add a sticky form to your landing page
1. Log in to your Landingi account and go to the editor of your landing page.
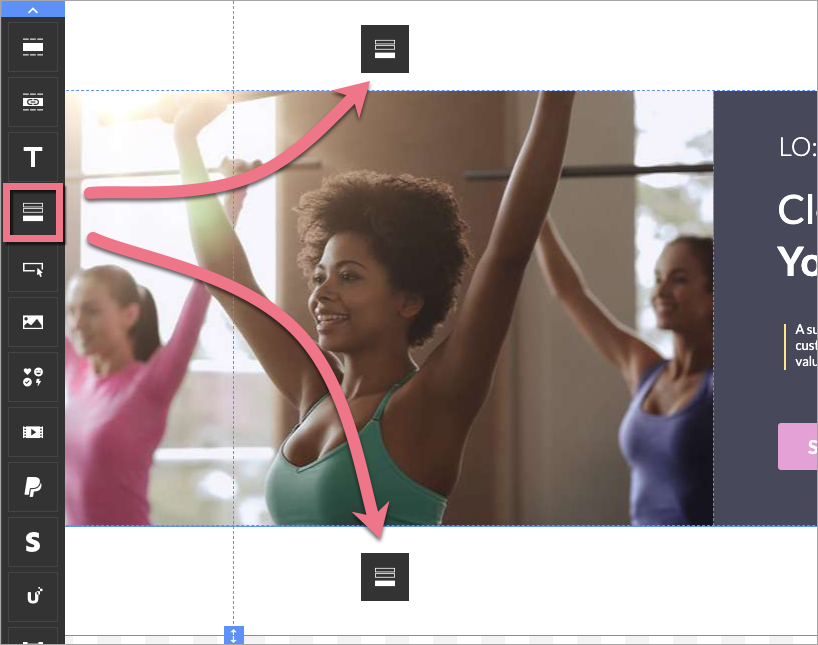
2. Sticky form can be pinned only to the top or bottom section. Make sure that this is where your form section is going to be. Then drag and drop the Form widget.
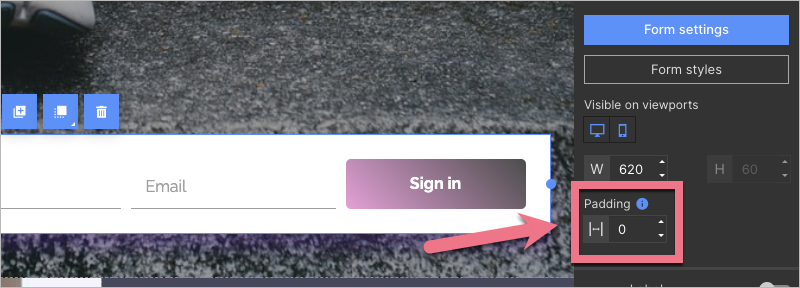
3. When you click on the form, you will see a toolbar on the right side of the editor. You can adjust the height/widgth of the form by selecting the appropriate value of Padding between elements. Read more about form editing here.
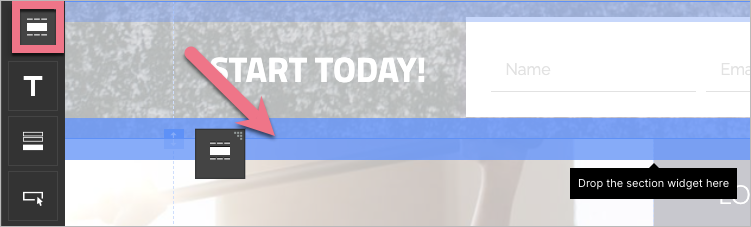
4. If the sticky form is in the top section, add one more empty section under the first one.
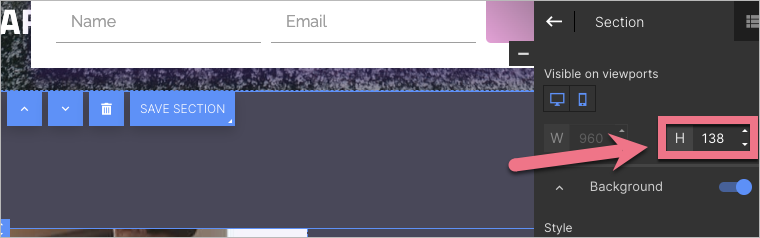
5. The second section will hide under the sticky form – that way, the first section will not cover the rest of your landing page. Set the height of the second section the same as the first one.
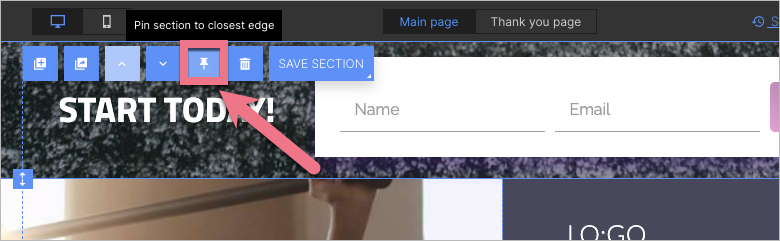
6. Click the section with the form. In the context menu, click the pin icon.
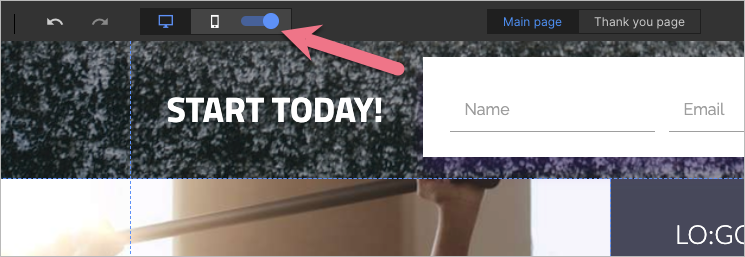
7. Pinning sections does not automatically happen on a mobile version of your landing page. Go to the mobile view and pin the form the same way.
All done! Your form is pinned. To undo it, click on the pin again. Remember that you can not edit a pinned section – to do so, unpin it first.
Remember to save the changes and publish your landing page when you’re done.