A fixed menu, called a sticky bar, is a type of navigation bar always pinned to the top or the bottom of the page while scrolling your landing page up or down.
Make a fixed menu (sticky navigation bar)
1. Go to the editor of your landing page.
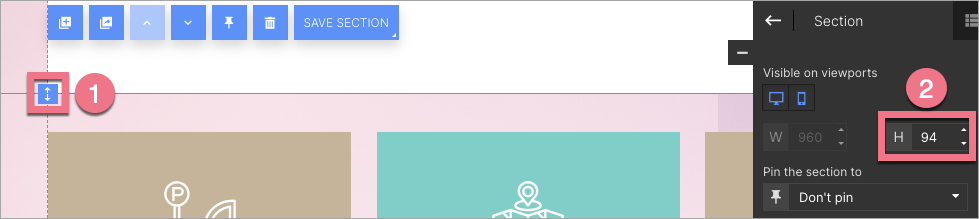
2. Click on the top or bottom section (you can pin only these two sections).
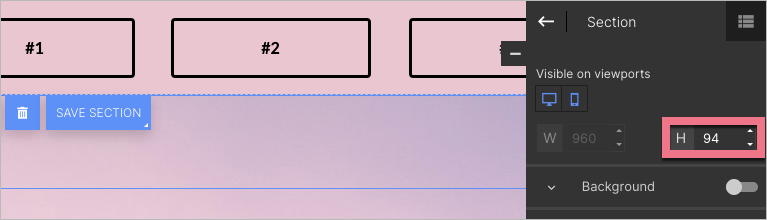
3. Set the desired section’s height using the slider (1) or change the value in the side panel (2). It should be adjusted to the height of a typical menu.
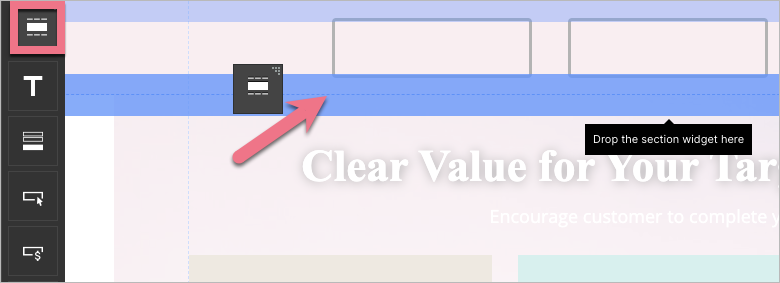
4. Create a menu, for example, by dropping button widgets in the section. You can also create a sticky form.
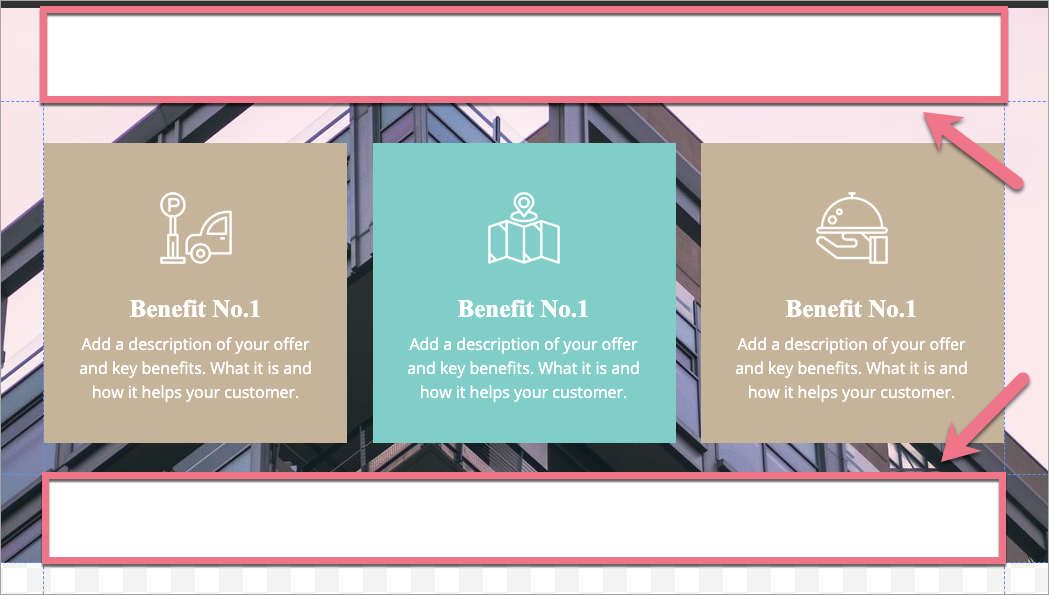
5. If the sticky menu is in the top section, add one more empty section under the first one.
6. The second section will hide under the sticky menu – that way, the menu will not cover the rest of your landing page. Set the height of the second section the same as the first one.
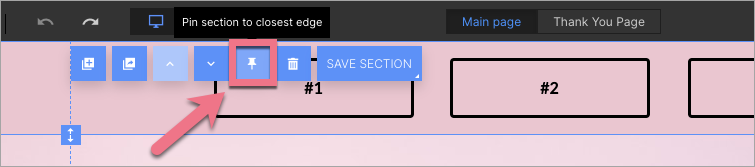
7. Click the first section. In its context menu, click the pin icon.
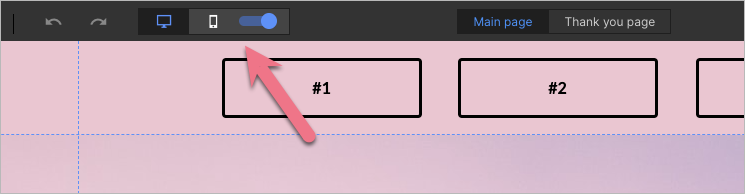
8. Pinning sections does not automatically happen on a mobile version of your landing page. Go to the mobile view and pin the menu the same way.
All set! Your menu is pinned. To undo it, click on the pin again. Remember that you can not edit a pinned section – to do so, unpin it first.
Remember to save the changes and publish your landing page when you’re done.