SimpleLive is a tool that allows you to add video chat, live stream, audio rooms, and audio streaming functionalities to your website. This guide will walk you through embedding the SimpleLive stream widget on your landing page in Landingi.
Get your code from SimpleLive
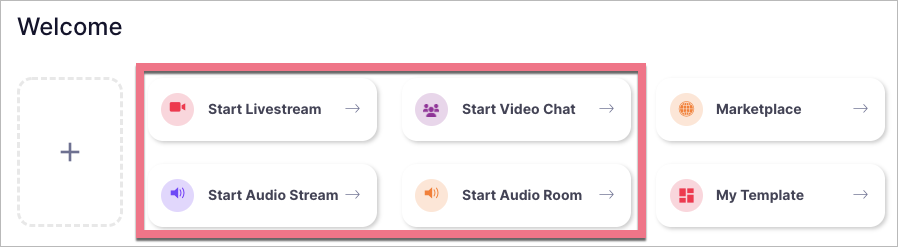
1. Log in to your SimpleLive account and navigate to the Dashboard.
2. Select a type of your stream.
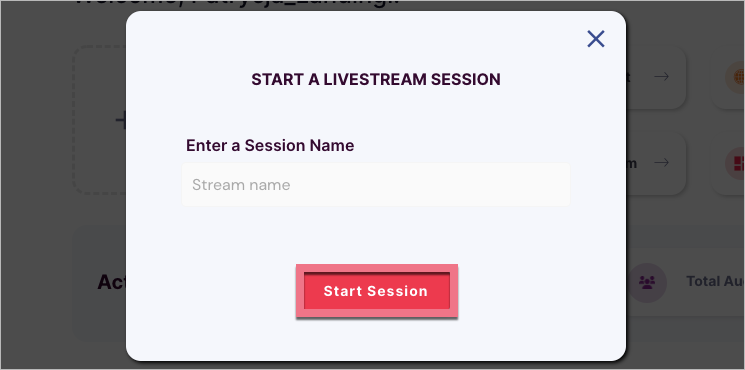
3. Name the stream and click Start Session.
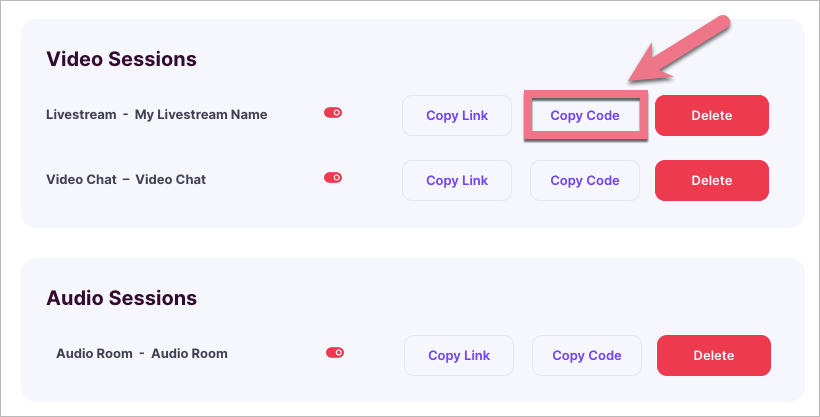
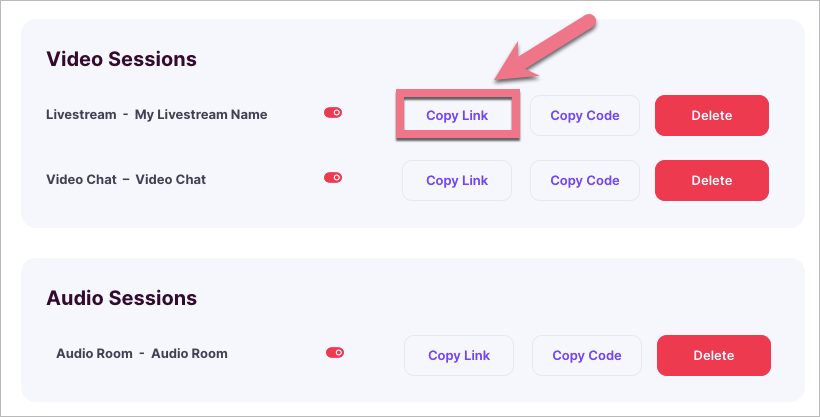
4. Your stream session will be added to an applicable section. Click Copy Code next to the stream you want to embed on your landing page.
Install the code in Landingi
1. Log in to your Landingi account and navigate to the editor of the landing page.
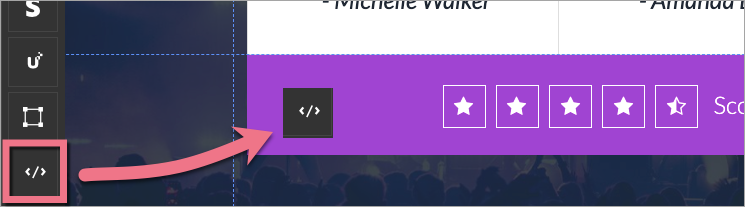
2. Find the HTML widget, then drag and drop it into the active area of the editor.
3. Double-click the HTML widget to edit it.
4. Paste the code from SimpleLive in the Add HTML code field.
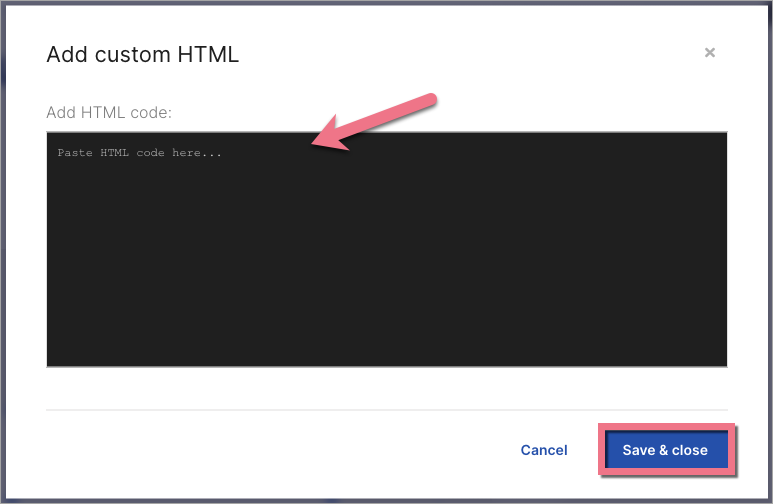
If you want to change the size of the SimpleLive stream widget, edit width and height values in the code:
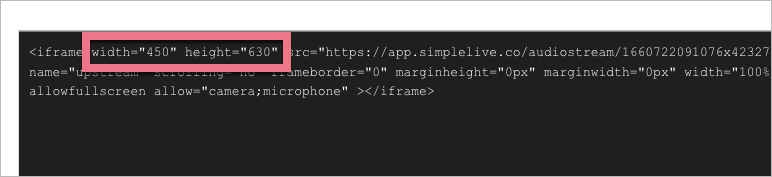
Then Save & close.
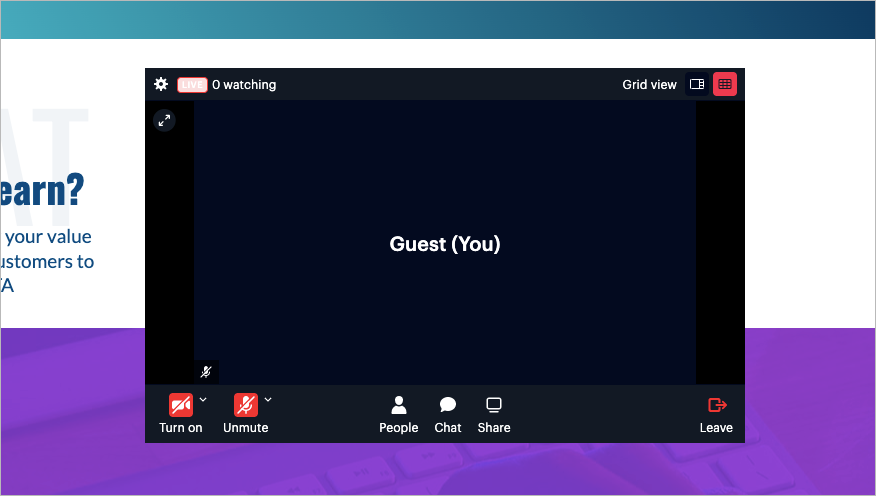
5. Publish your landing page.
See if your stream displays correctly. If needed, go back to the editor and adjust the HTML widget’s position.
Redirect to the stream
You can also hyperlink a button or text so that users can join your stream in a new browser tab.
1. In the SimpleLive Dashboard, click Copy Link next to the stream.
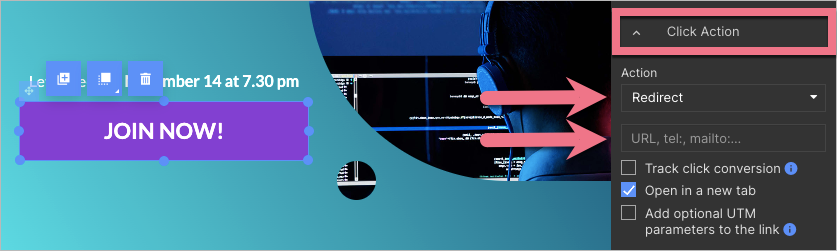
2. To redirect via button:
Go to the landing page editor and select the button. In the right-side toolbar, unfold the Click Action tab. Select Redirect as the Action and paste the link in the URL field. Check the Open in a new tab option. Then publish your landing page.
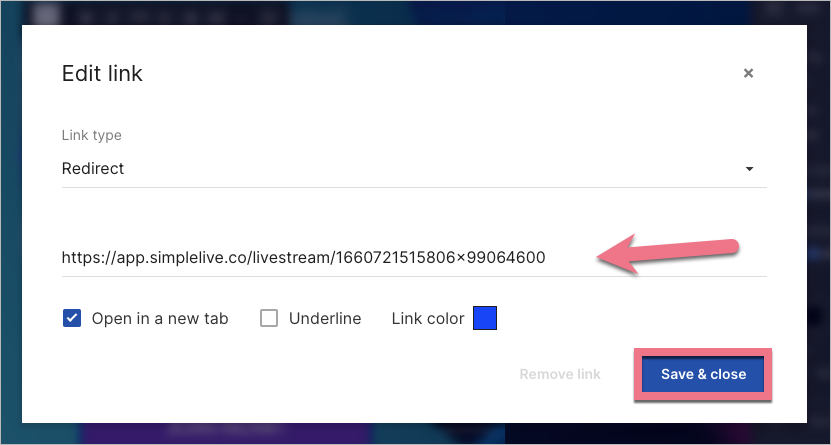
3. To redirect via text:
Go to the landing page editor and select the text. Click the Create link icon in a context menu.

In a new window, select Redirect as a Link type and paste your link in the URL field. Check the Open in a new tab option and click Save & close. Then publish your landing page.
Check if the redirections work correctly.
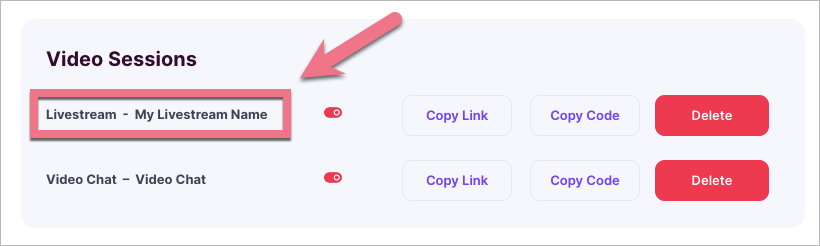
Start streaming
When you are ready to start streaming, click the stream name in your Dashboard or click Copy Link and open it in a new browser tab.
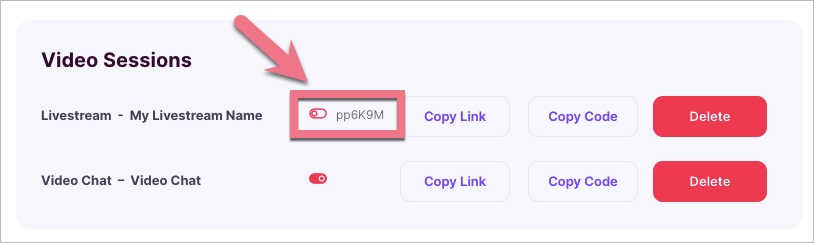
If you start the stream from a browser different from the one you are logged into SimpleLive account, you will need a Host Key – you can find it under the toggle. Copy the key.
Open your stream and click Join as host (1). Enter the Host Key (2) from your Dashboard.
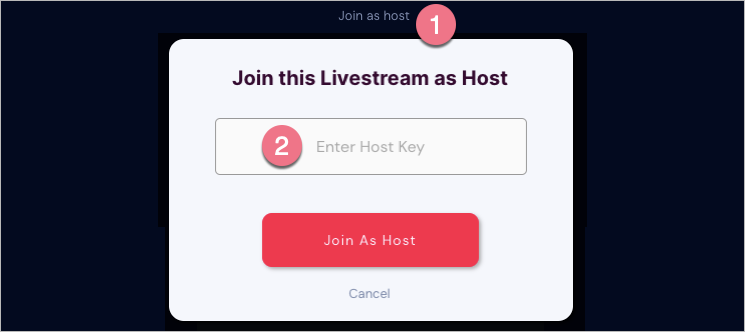
Click Join As Host and start streaming.
Browse all integrations in our Integrations Catalog to see tools you can connect Landingi with.