Sections are one of the basic elements of your landing page. They hold all the elements of your page in Landingi editor.
Section workspace
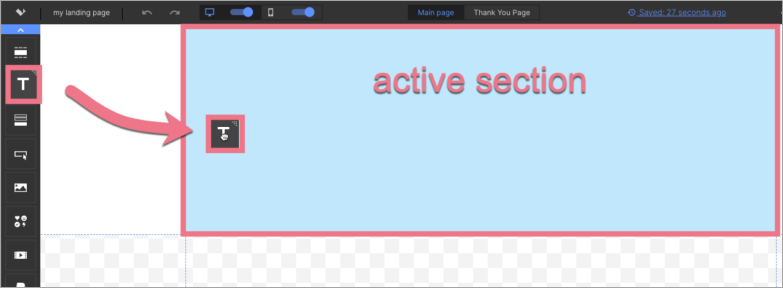
A section is a horizontal element of a landing page. A section workspace is an area that, after publishing, will be visible on any monitor, regardless of its resolution. It is located between two blue, dashed lines.
Elements from the widget bar can be placed only within the section area, between the blue dashed lines.
Add new section
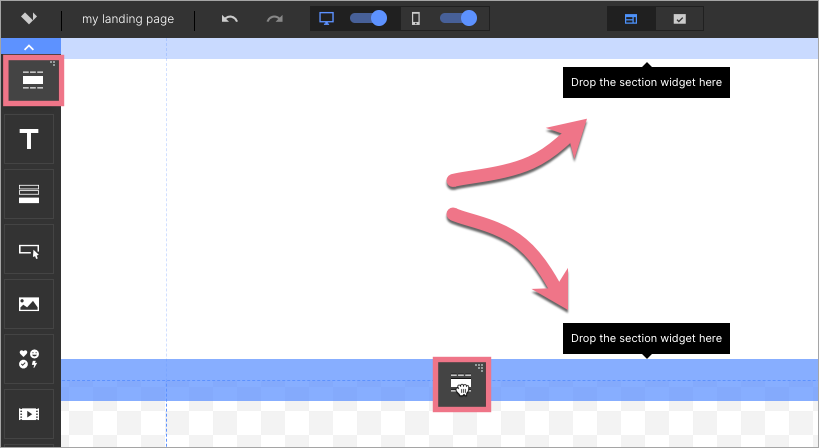
1. On the left side of the editor, find the Section widget, then drag and drop it into the active area of your landing page.
2. You will see the Add a section window.
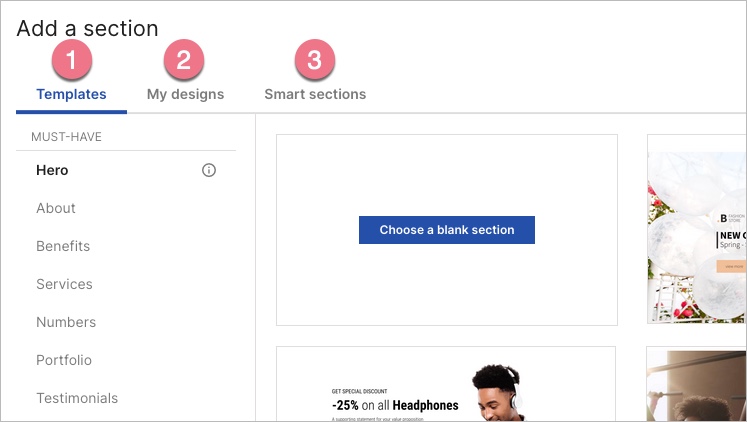
(1) In the Templates tab, you can search for a section template by categories.
Learn more about section templates.
(2) In the My designs tab, you will find sections you have saved. These are your templates.
Learn more about the My designs tab.
(3) In the Smart Sections tab, you will see sections that you’ve saved as smart sections.
Learn more about Smart Sections.
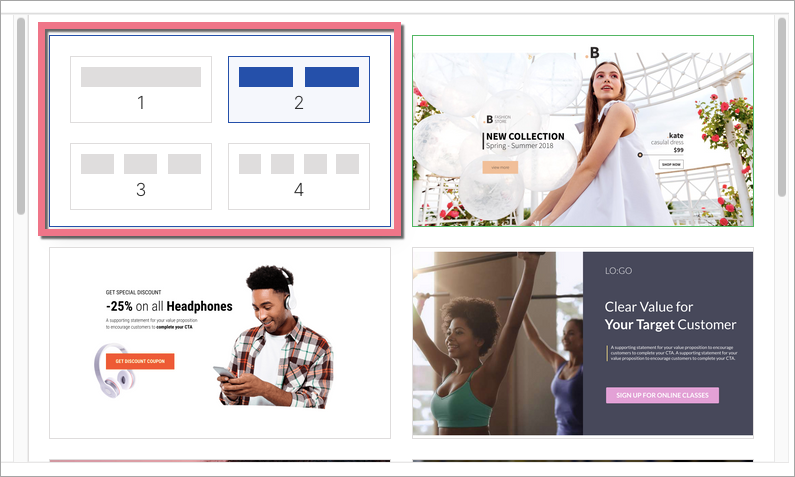
3. To choose a blank template, hover over Choose a blank section. Choose a section with one, two, three, or four columns.
To learn how to adjust the multi-columns landing page’s mobile view, read this guide.
Edit section
Click on the section to start editing. You will see its context menu (1) and toolbar on the right side of the editor (2).
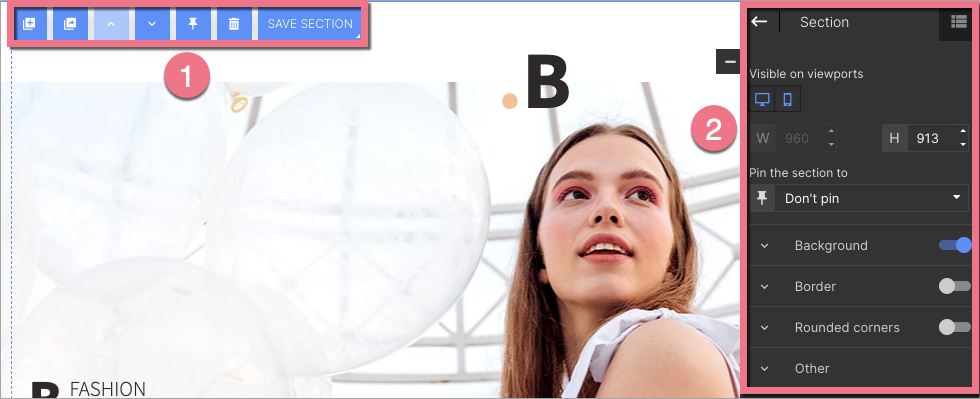
Context menu
The icons in the context menu let you:
- duplicate section;
- copy section to another landing page (switch to the editor of another landing page and paste the section anywhere using CTLR (CMD) + V);
- move section up (impossible with the first section);
- move section down (impossible with the last section);
- pin section (possible only with the first and last sections);
- delete section;
- save section (in My designs or as a Smart Section).

At the bottom of the active section, there are arrows – use them to change the height of the section. You can adjust it also in a right-side toolbar.

Widget toolbar
In the widget toolbar, you can turn on/off mobile or desktop view (by default, the section is visible in both views), change the section height, and pin it (possible only with the first and last sections).
- Read more about the sticky menu and sticky form.
Underneath, you will find tabs with some additional options. You can turn them on or off using the slider located in the right-hand corner of each tab (except the Other tab).
- Background – choose the style of the section background: full color, gradient, video, or image.
- Border – adjust the parameters of the frame: thickness, line style, and color.
- Rounded corners – set specific values to round corners (the value can be the same for all corners or different for each).
- Other – adjust element name, copy the button ID or add a class.
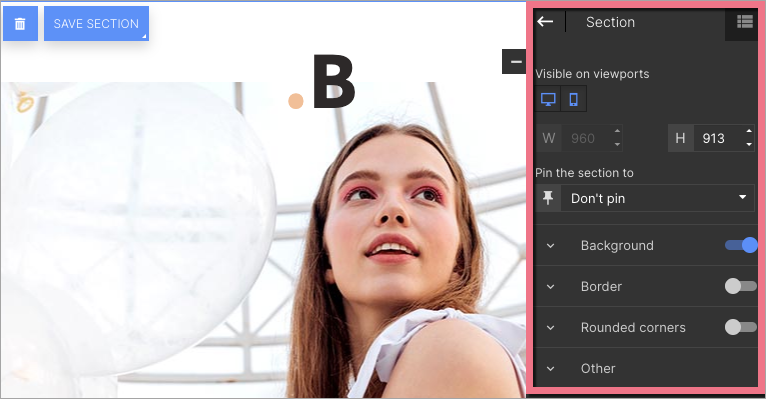
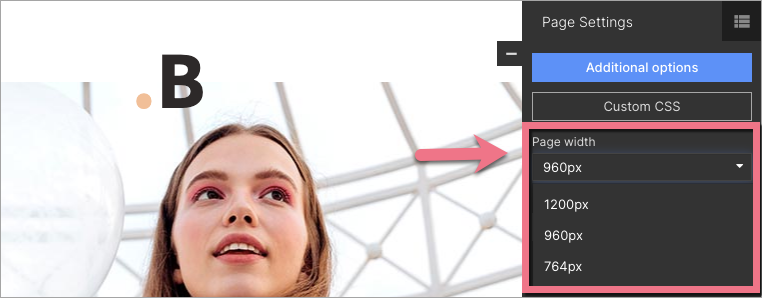
You can also adjust the width of the whole landing page. Click on the arrow to go back to Page Settings. Then choose your page width.

If you want to create your landing pages more efficiently, check how to make the most use of Smart Sections.
