Zendesk Sell is a CRM system for customer communication and lead management. It’ll help you simplify and speed up the sales process. This integration supports custom form fields.
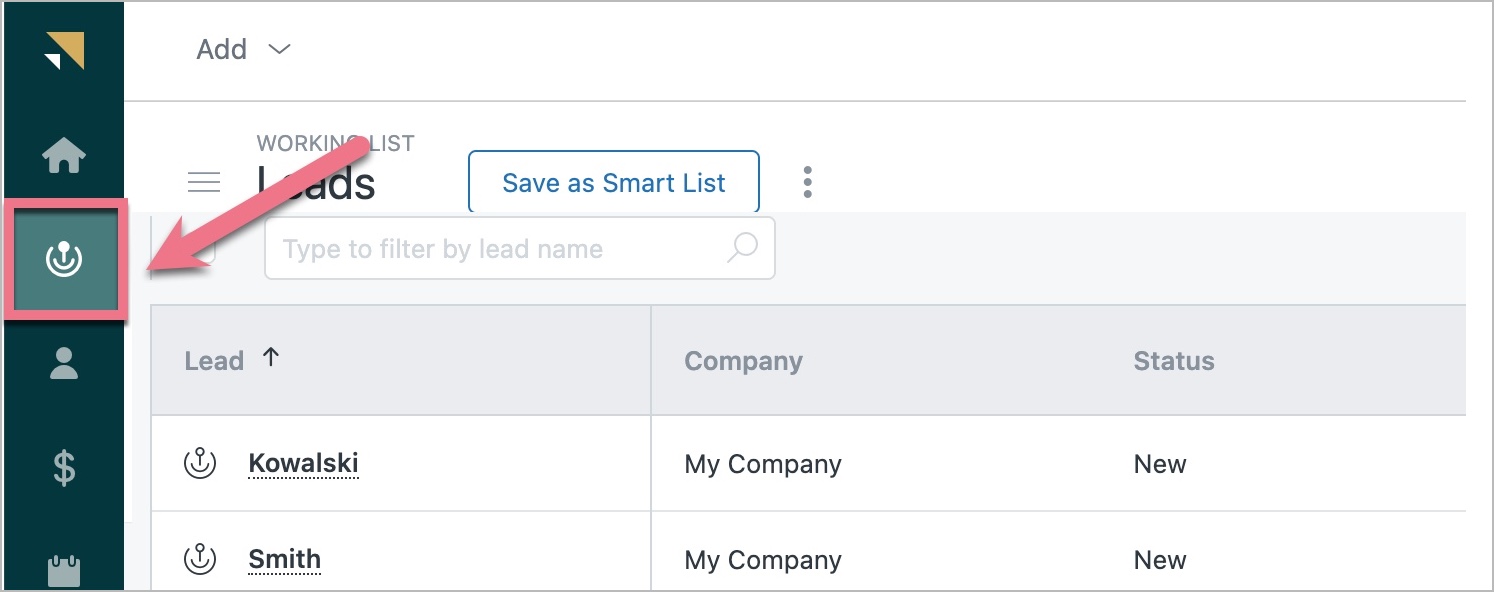
You will find leads sent to Zendesk Sell in the Leads tab.

- You can also connect your landing page with Zendesk Sell via Zapier to create leads or deals.
Integrate your form with Zendesk Sell
1. Log in to Landingi and navigate to the editor.
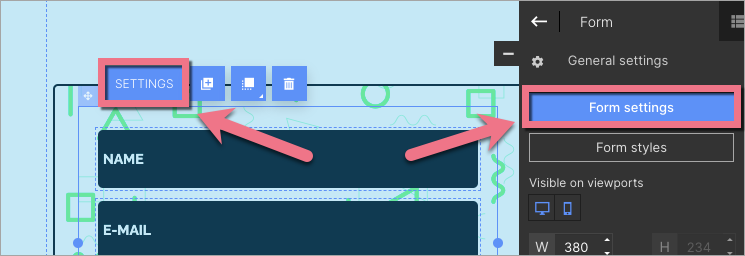
2. Click on the form and go to its Settings.

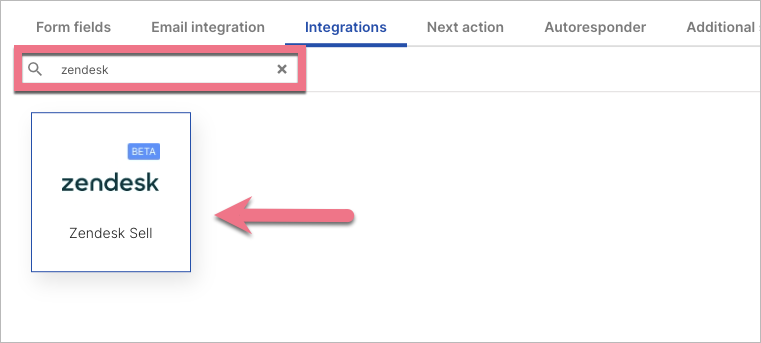
3. In the Integrations tab, select Zendesk Sell. You can use the search bar to look for the integration. Type the name and press enter.

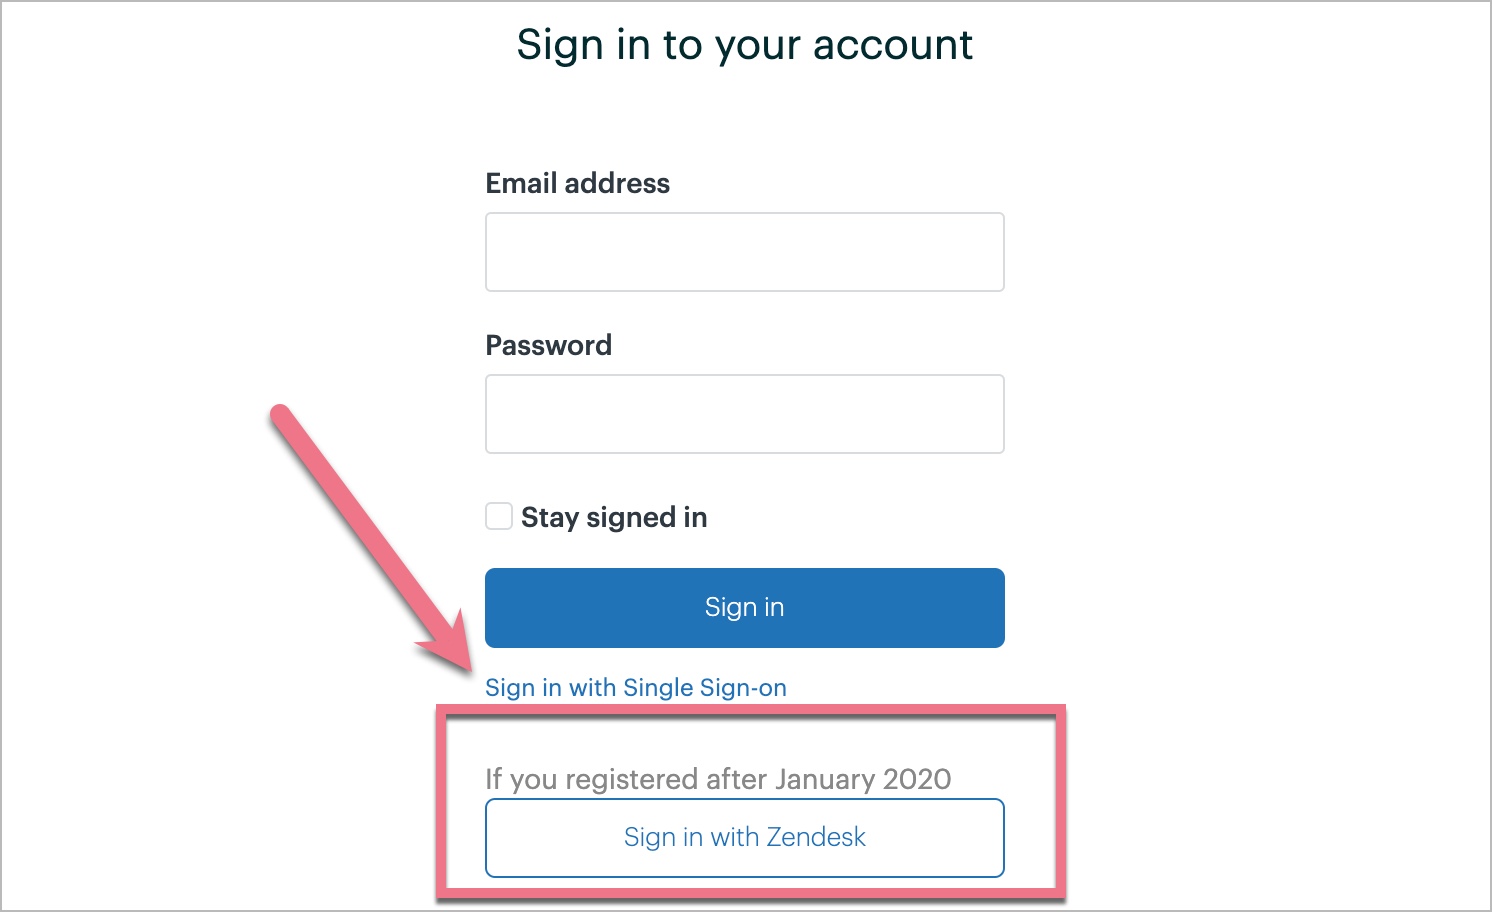
4. Click on Add new connection. A login page will open in a new tab. If your Zendesk account was created after January 31, 2020, click on Sign in with Zendesk. Once logged in, authorize the connection.

5. Your Landingi account is now integrated with your Zendesk Sell account via a unique code. You will be able to use it multiple times – each time you integrate your form with Zendesk Sell.
6. This integration requires two fields: last_name and organization_name. You can always add and map any other additional fields.

8. When you’re done, click Save and close and publish your landing page.
9. Fill in the form to check if the integration is working correctly.
Browse all integrations in our Integrations Catalog to see tools you can connect Landingi with.