GoToWebinar is a well-known tool for streaming meetings, conferences, webinars, and online courses. In this guide, you will learn how to integrate it with the landing page created in Landingi.
Get your link from GoToWebinar
1. Log in to your GoToWebinar account.
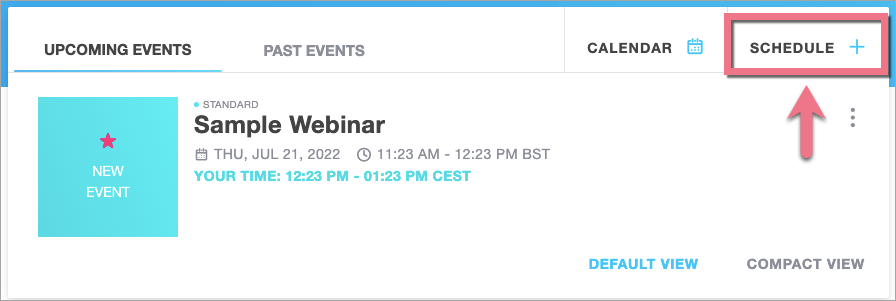
2. In Dashboard, click Schedule +.
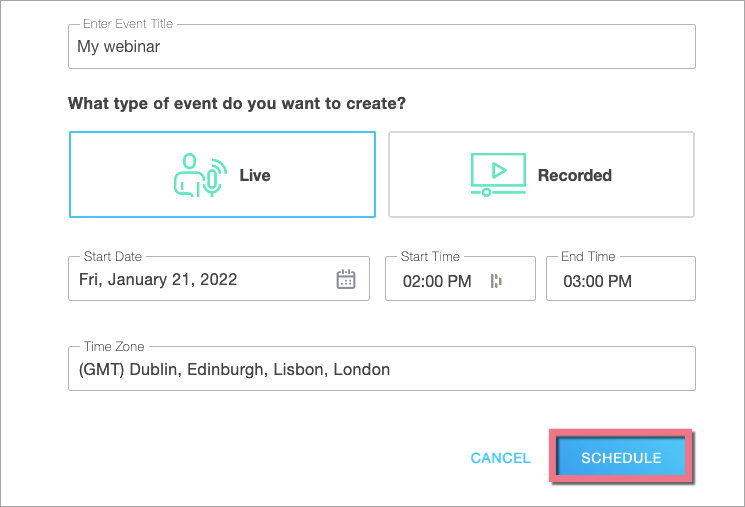
3. Complete the required fields and create your webinar. Then click Schedule.
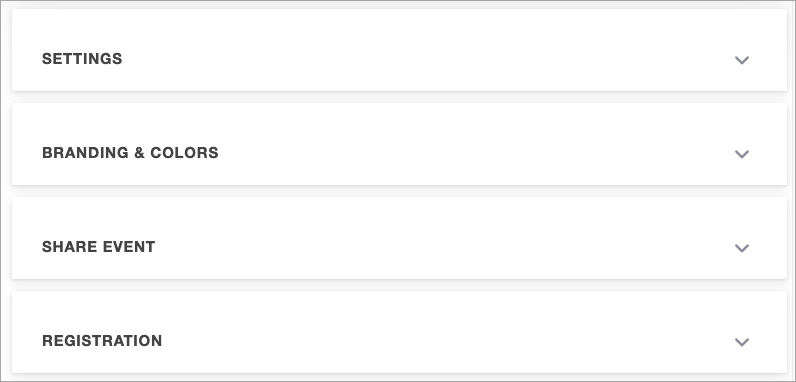
4. You will see the Event Details. In the upper right corner, click Share and choose Copy registration link.

5. In the Event Details, you can also adjust more settings, e.g., branding or registration options.
Install the link in Landingi
1. Log in to your Landingi account and navigate to the editor of your landing page.
2. Find the HTML widget, then drag and drop it into the active area of your editor.

3. Copy the following code:
<p><iframe src="Your_url" name="Your_webinar" width="800" height="600" align="left" scrolling="auto" frameborder="0"></iframe></p>Change Your_url to the registration link copied from GoToWebinar. Change Your_webinar to the name of your event.
You can also adjust the height and width of the GoToWebinar window. To do so, change values in width= and height= attributes.
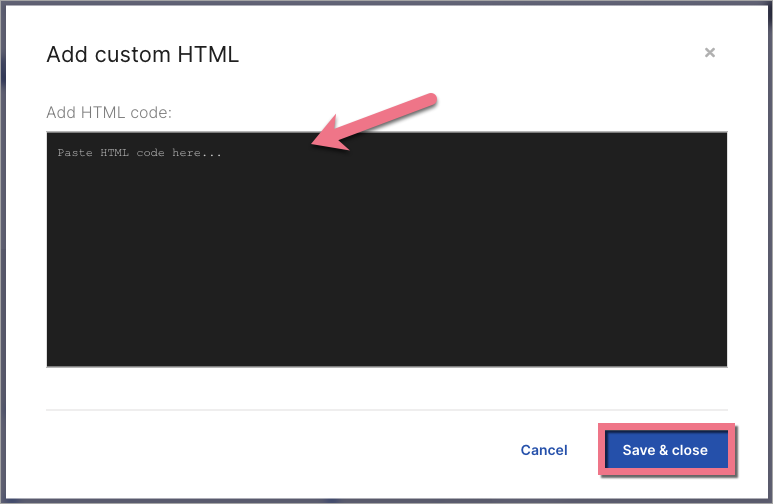
4. Double-click on the HTML widget and paste the code in the Add HTML code field. Then Save & close.
5. Publish your landing page.
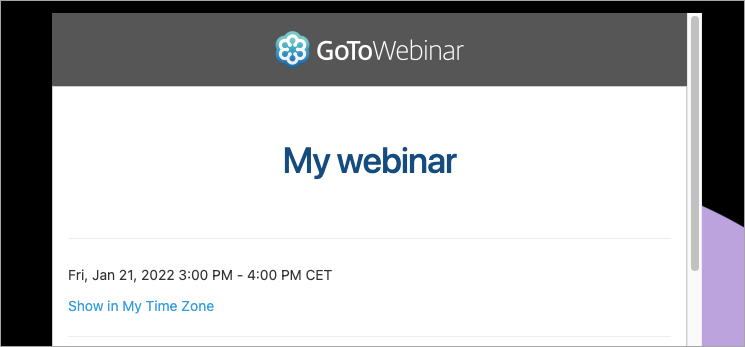
See if everything displays correctly.
Browse all integrations in our Integrations Catalog to see tools you can connect Landingi with.