E-goi is a multichannel marketing platform that automates email, mobile, web, voice, and social media campaigns in a single online system. This manual will walk you through integrating your form on the landing page with E-goi and pass all generated leads to it.
This integration does not support custom form fields.
- You can also connect your landing page with E-goi via Zapier to automatically add tags and subscribers and send emails or SMS to your new leads.
Get your API key from E-goi
1. Log in to your E-goi account.
2. Click on your profile icon and go to the Integrations tab.
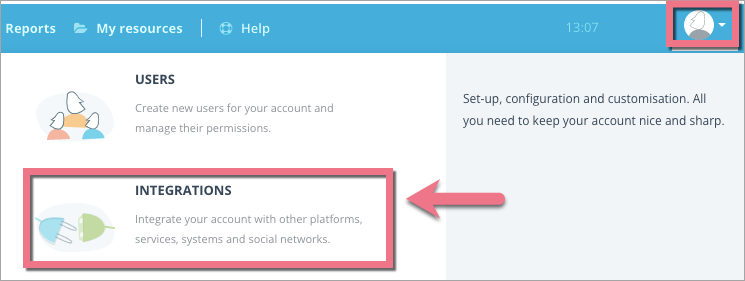
3. Copy your API key.

Install the API key in Landingi
1. Log in to your Landingi account and go to the editor.
2. Click on the form and enter its Settings.

3. In the Integrations tab, choose E-goi. You can use the search bar to look for the integration. Type the name and press enter.

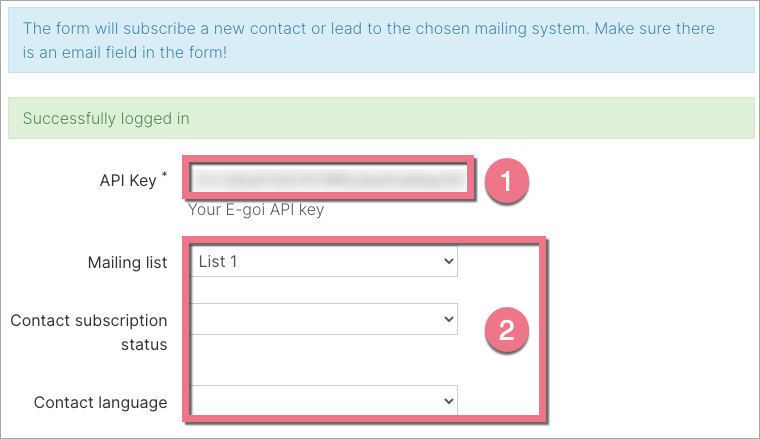
4. In the API key field (1), paste your key copied from E-goi. Enter other data (2).
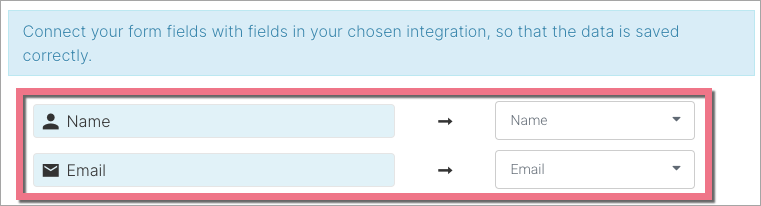
5. Next, connect the form fields with the appropriate values defined in E-goi.
6. Save and close. Publish your landing page.
Fill out the form and check if the data is sent correctly to your E-goi account.
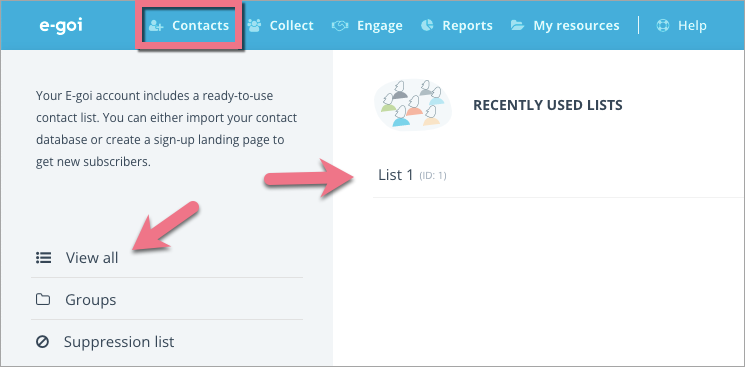
To see your leads in the E-goi platform, click on the Contacts tab and then select your list or View all.
Browse all integrations in our Integrations Catalog to see tools you can connect Landingi with.