In the Landingi platform, you have access to several pre-installed fonts, but you can also add Google fonts or your own custom fonts as well. Fonts can be added in the platform or directly in the editor.
On the Agency/Unlimited account, we recommend adding fonts from the main account level – they will be automatically available on all subaccounts from the editor’s level.
Add Google fonts
1. Log in to the Landingi platform and navigate to the Settings tab located in the lower left corner.

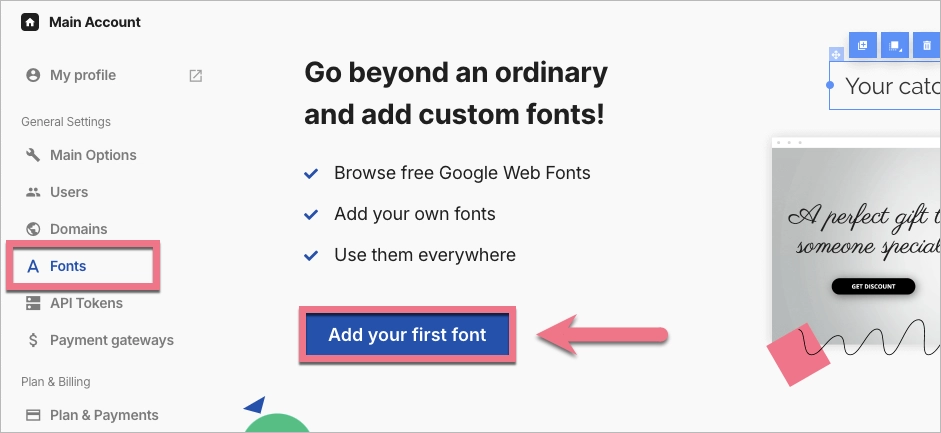
2. Go to the Fonts tab and click on Add your first font or Add font.
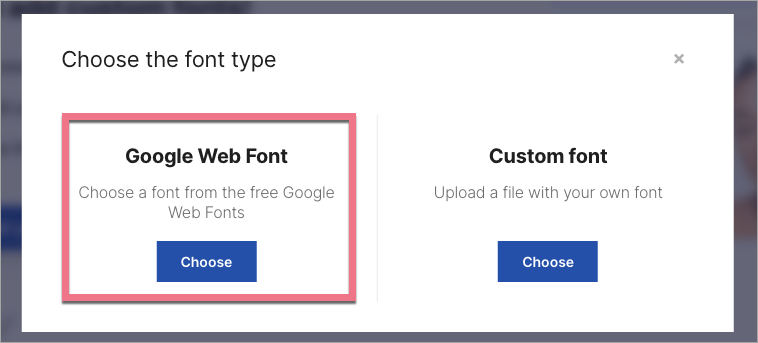
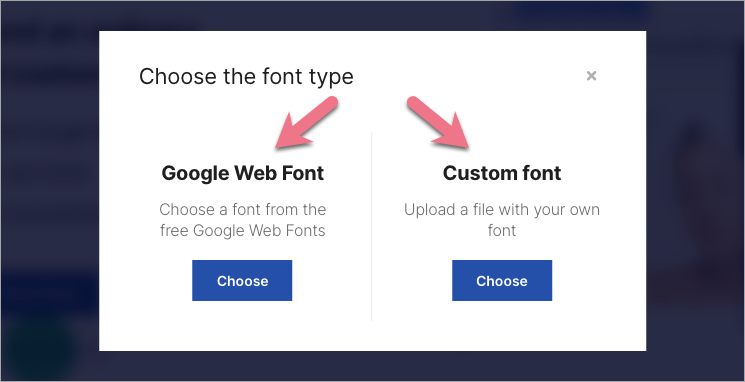
3. Choose Google Web Font.
4. Choose a font from the drop-down menu and click on Add.
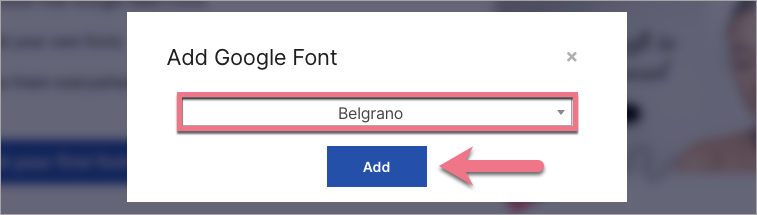
The new font has been added to your account and is now available in the list of all fonts in the editor.
Add custom fonts
1. Log in to the Landingi platform and navigate to the Settings tab located in the lower left corner.
2. Go to the Fonts tab and click on Add your first font or Add font.
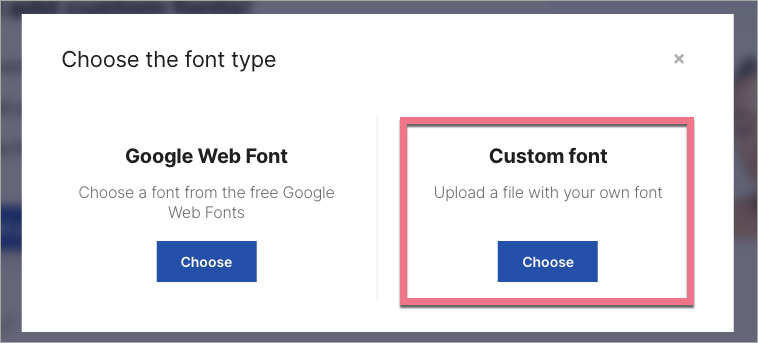
3. Choose Custom font.
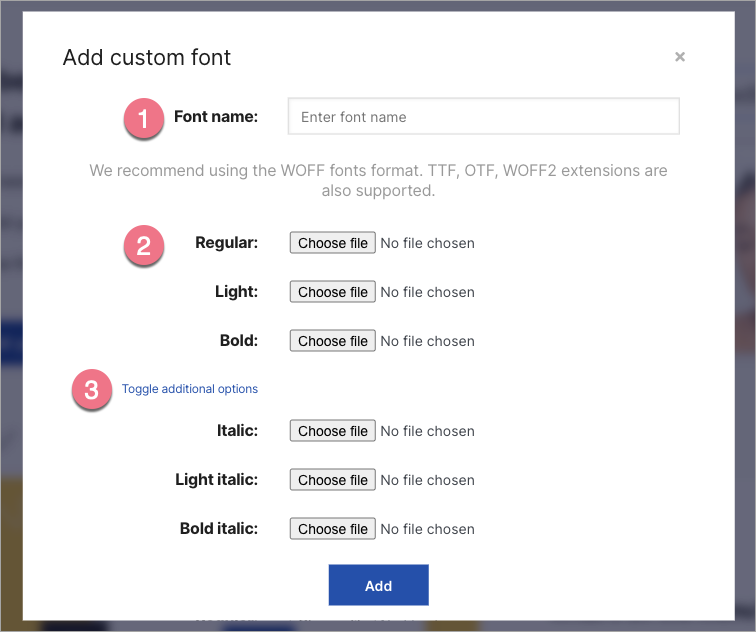
4. Name the font (1) and upload the file or files with the font (2) – optionally, you can add files with styles. By clicking on Toggle additional options, you can add fonts for Italics (3). Finally, click on Add.
The new font has been added to your account and from now is available in the editor, in the list of all fonts.
Add fonts in the editor
You can add new fonts also when editing.
1. Go to the editor of your landing page.
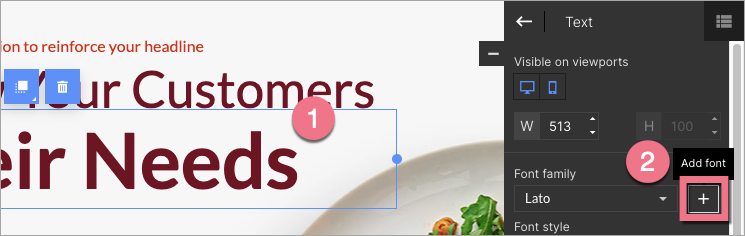
2. Click on a text widget (1). In the right-side toolbar, find the Font family field and click the plus icon (2) next to it.
3. A new tab will open. Choose the font type: Google Web Font or Custom font.
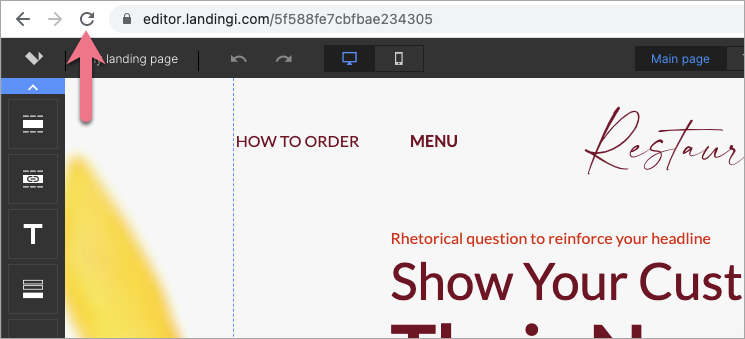
4. Follow the provided steps. Then go back to the editor, save your changes, and refresh the page.
The new font has been added and is now available in the list of all fonts in the editor.
NOTE: We recommend using fonts in WOFF format, currently most widely supported by browsers. In the Landingi platform, you can also add fonts in other formats, such as TTF, OTF, or WOFF2. Please note that there is no single format supported by all browsers and all their versions.